Overengineering an approach to reading an analog clock
Jinay Jain - Dec 17, 2021
Few things are more embarrassing than having to spend 20 seconds trying to figure out how much time you have left on a standardized test. With no phone, smartwatch, or digital clock handy, you’re stuck trying to remember how to decipher the three lines on a circular wall clock. Unfortunately for many people (including me) who grew up surrounded by digital devices, the analog clock has not fully been phased out in the real world.
Now, any normal person would revise their hour and minute hands to brush up on these skills, but you’re not going to be one of those people. You’re going to be a computer vision expert. You’re going to throw everything you know about vision algorithms at this simple task. And that’s exactly what I did.
Building the Timekeeper
For those who want to follow along, here’s the code I used to build what I have decided to call the Timekeeper.
Where is that clock?
Before I could even start to code the time-telling aspect of the project, I had to first identify where the clock was in an image. Initially, I tried looking into circle detection algorithms like Hough Circles, but that path introduced two problems:
- Clocks are not the only circular objects in the image.
- Due to perspective distortion, the clock’s shape is not always circular.
Take a look at the image below. Since the photo was not taken directly facing the clock, its circular shape is distorted into an ellipse. Additionally, the embellishments around the clock could introduce many false-positive circles for a circle detection algorithm.
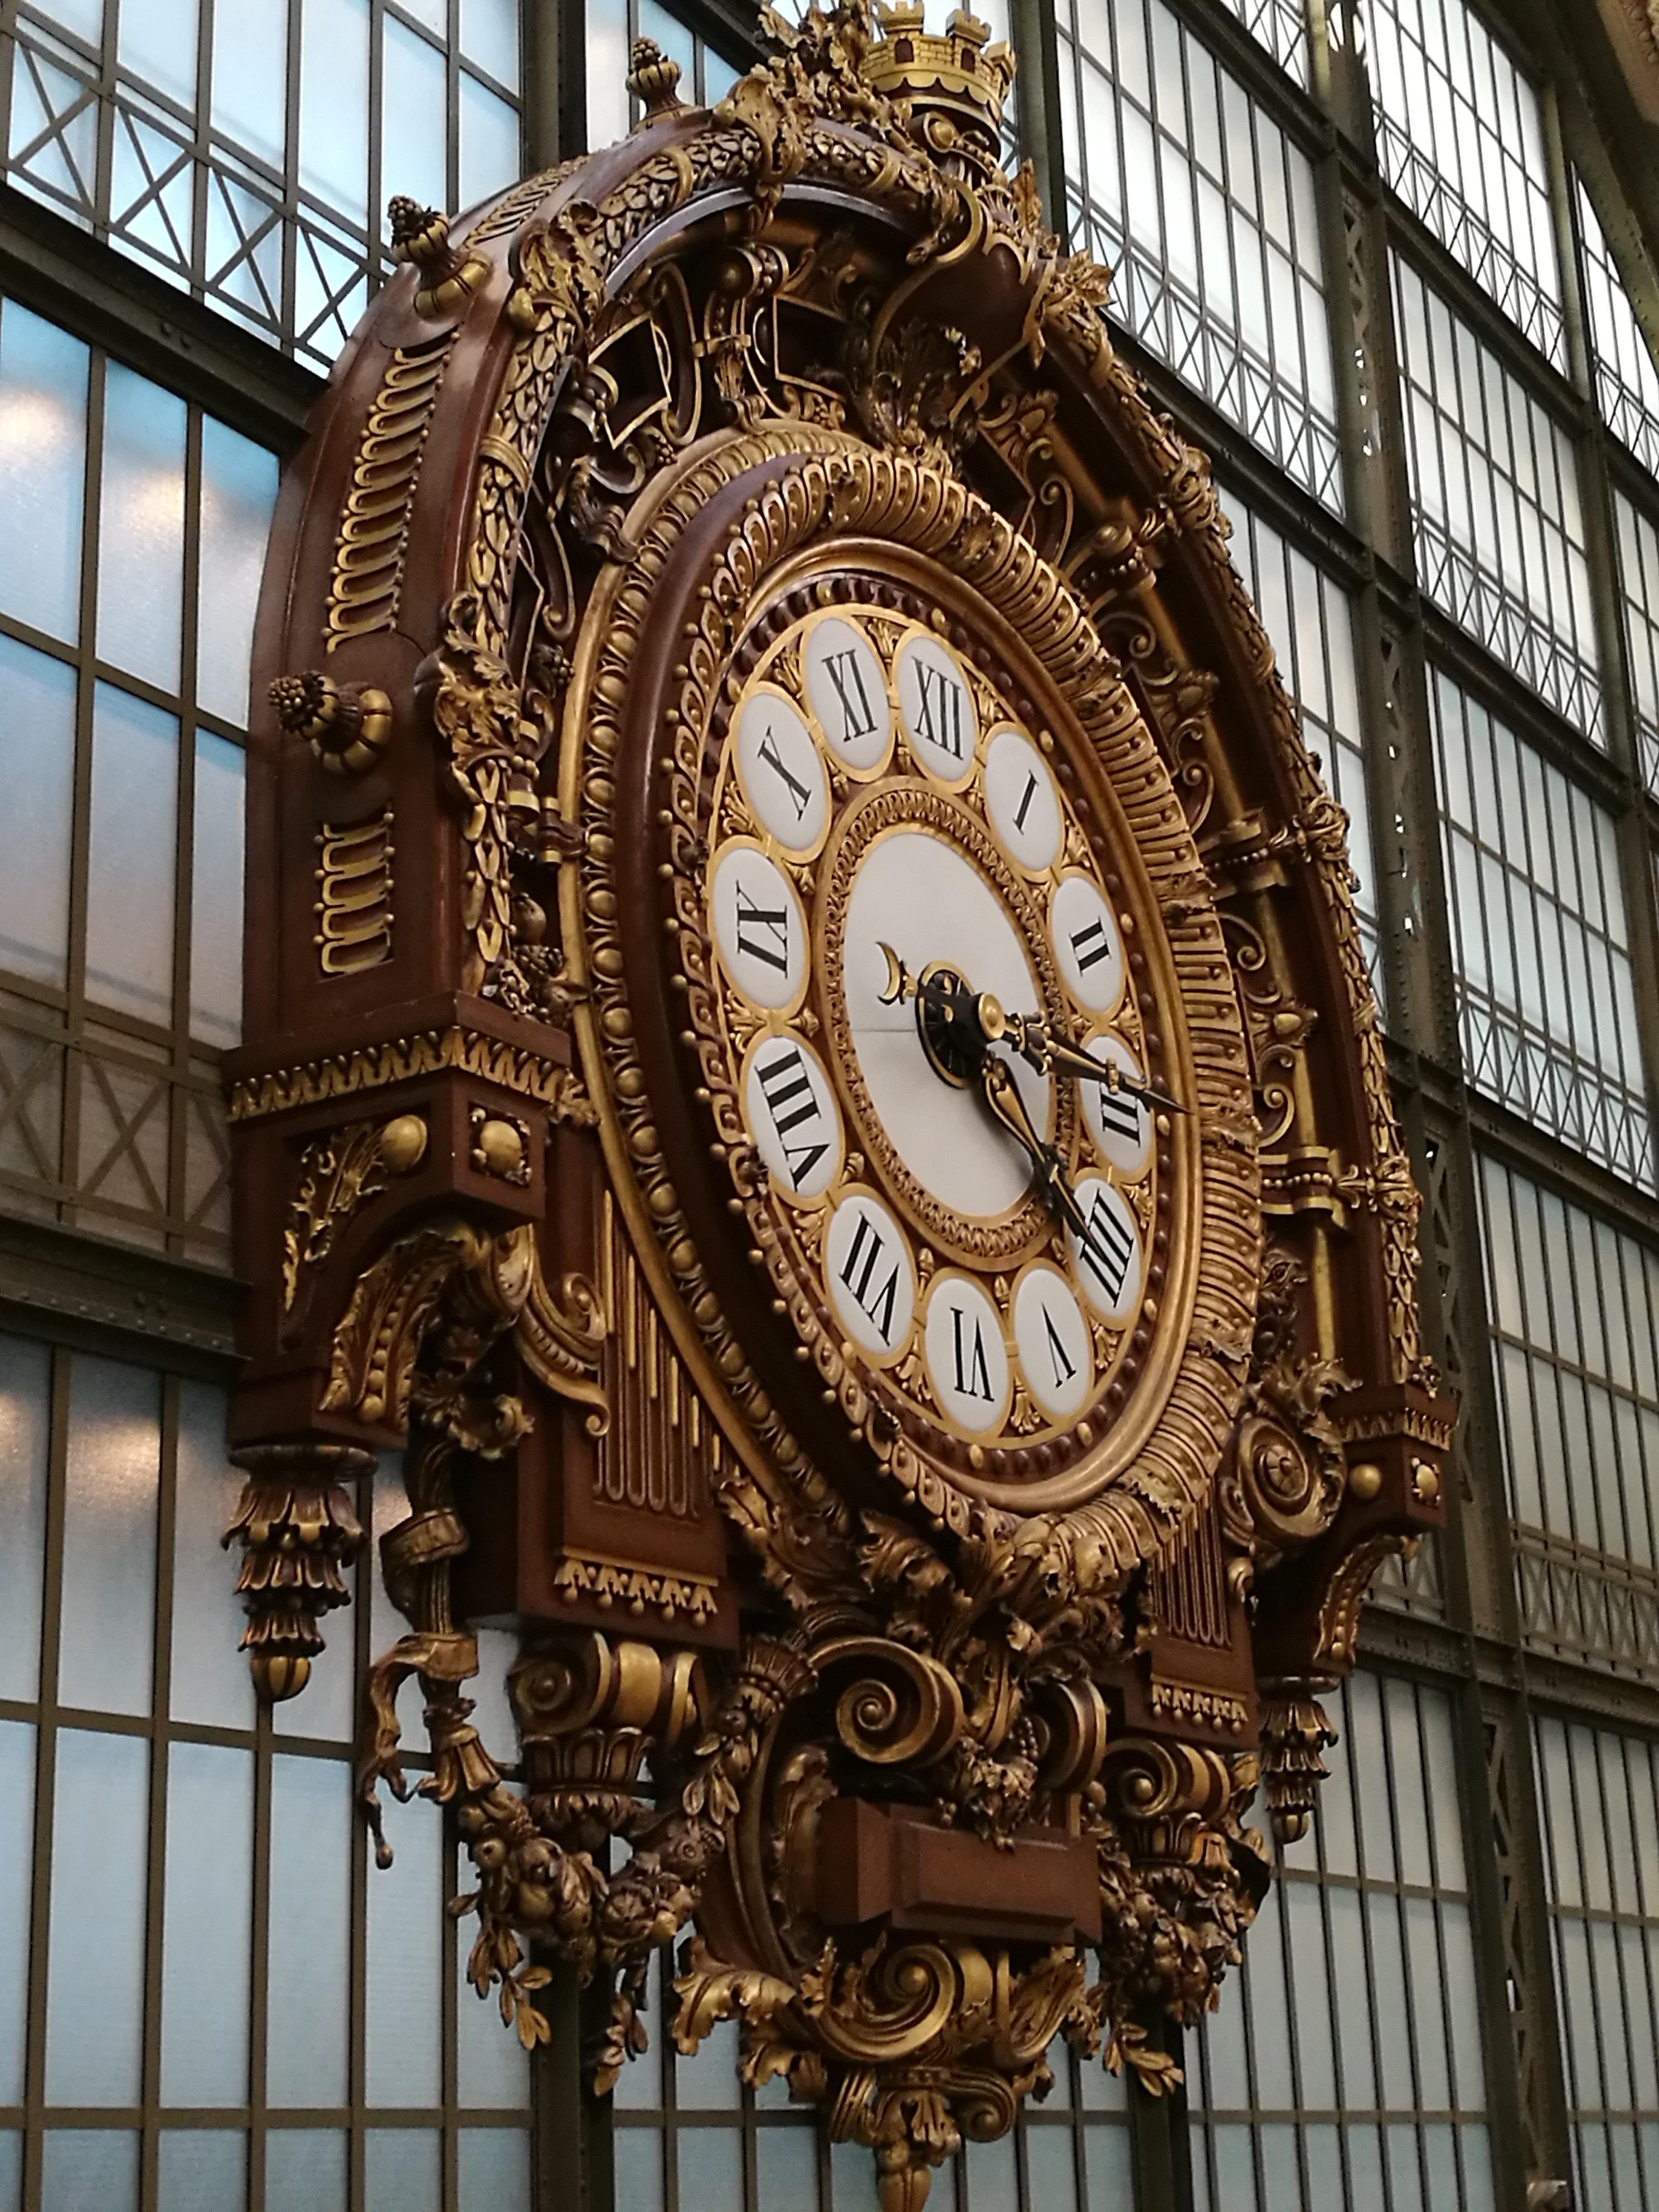
A challenging scenario for circle detectors (Photo by Nolwenn Coene from Pexels)
A hand-crafted solution to these issues would likely yield better results, but I decided to go with a more 2021 approach to the issue—deep learning. To my surprise, clocks are actually one of the target labels in the widely used COCO dataset, which is a large, open-source dataset of images of “Common Objects in Context” (COCO). Given the dataset’s ubiquity, I was able to easily find pretrained models that I could use to detect clocks in the image.
However, this dataset seemed to primarily cover what is called the “object segmentation” task, which is where each pixel in the object is labelled as that object (see the example below).
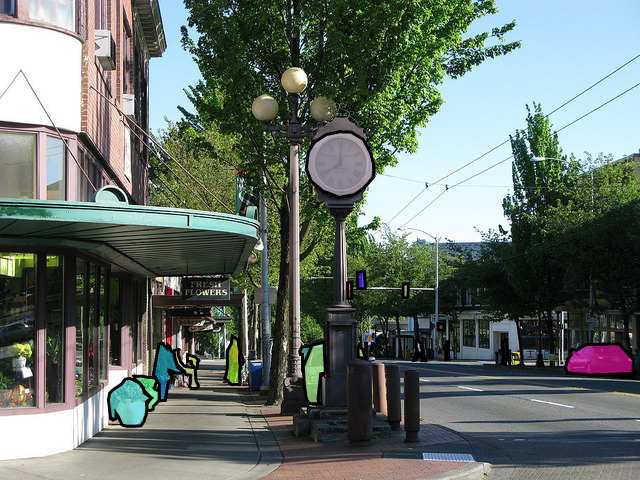
An example of object segmentation labels from COCO
For my purposes, I only needed a simple bounding box around the clock, so I searched for a bounding box model that had been trained on COCO. The torchvision package has several models that can do object detection, but what I ultimately ended up choosing was the Faster R-CNN with a ResNet50 backbone. Both of these choices are pretty standard for object detection, and torchvision had a simple API to use them. All in all, the code for finding clock bounding boxes with the Faster R-CNN model was comparatively simple:
model = torchvision.models.detection.fasterrcnn_resnet50_fpn(pretrained=True)
...
def detect_clock(image):
    '''Detects a clock within a given image and returns the bounding box'''


    inp = [torch.from_numpy(preprocess(image)).float().to(device)]
    preds = model(inp)[0]

    boxes = preds['boxes'].detach()
    labels = preds['labels']
    scores = preds['scores']

    for i in range(len(labels)):
        label = labels[i].item()

        if label == 85: # the COCO id for clocks is 85
            return boxes[i].cpu().numpy().round().astype(np.uint16)

    return None # no clock was found
I won’t cover the details of object detection here, but you can check out this tutorial which has a nice explanation of the R-CNN family of detectors.
Perspective Correction
After detecting the bounding boxes, I could reliably locate a box for where the clock was located (even with other circles in the image). However, the clock’s shape was often distorted due to perspective changes. The later steps in the project rely on estimating the hand angles, so it was important for the clock to be a circle. The simple solution I opted for was to scale the rectangular bounding box’s aspect ratio 1:1, hopefully warping the elliptical shape into a circle.
clock = cv2.resize(clock, (400, 400))
If I wanted to be more accurate, I could try to use a Elliptical Hough Transform to find the ellipse that best fits the clock. After finding the ellipse, I could rotate it to be vertical and then scale the minor axis to be the same length as the major axis, forming a circle. However, the simple solution of resizing the bounding box to be square was sufficient for my tests.
Estimating the Hand Angles
This next step was the trickiest and most crucial to get right. While I’m sure some carefully tuned deep learning regression solution could yield good results at estimating the time, I decided to go with a more classic CV approach. Let’s take a look at a concrete example of how the clock’s hand angles could be estimated. The following image is the result of cropping in the bounding box and transforming the image to be square, as detailed above.
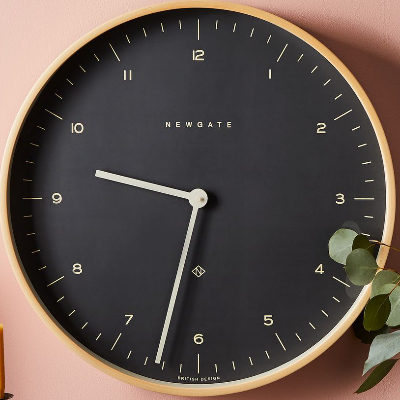 Cropped view of clock after bounding box and resizing
The first step was to dramatically simplify the image by using the Canny edge detector. Essentially, Canny edge detector works by finding the pixels in the image with the highest intensity change, and then joining them together into edges. The result is a binary image with edges highlighted.
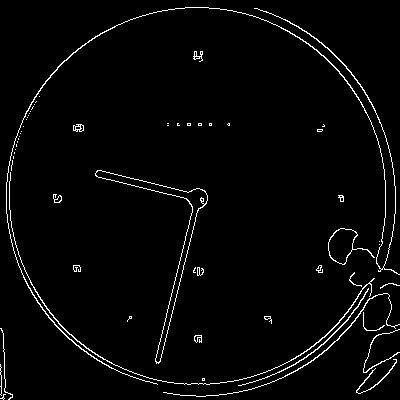 Canny edge detection on the clock image
With the general assumption that clock hands are straight lines, I then applied the Hough Line Transform to find the lines from the Canny edges. Of course, there would be many spurious lines, so I filtered out lines that didn’t have a point that was close to the center of the image. After this step, I had a list of line angles and lengths that could feed into the penultimate step.
# a list of tuples of the form (angle, length)
lines = [
    (193.95829007451138, 178.2638493918495),
    (193.68092535931936, 156.43848631331102),
    (283.73626830562256, 92.64987857520376),
    (283.73626830562256, 92.64987857520376)
]
Which Hand is Which?
From this list of detected lines, it was now time to assign each hand of the clock to an angle. I first needed to group together the lines that were close to each other. I implemented a simple clustering algorithm that grouped together lines that weren’t beyond some threshold angle difference apart.
def cluster_lines(lines):
    """Clusters lines by their angle similarity determined by max_angle_gap"""

    lines.sort()  # sorts by angle

    max_angle_gap = 5
    clusters = [[lines[0]]]

    for i in range(1, len(lines)):
        if abs(lines[i][0] - lines[i - 1][0]) <= max_angle_gap:
            # add this line to the existing cluster
            clusters[len(clusters) - 1].append(lines[i])
        else:
            # start a new cluster
            clusters.append([lines[i]])

    return clusters
Each cluster could then be summarized by the average angle and length of the lines in the cluster. Since the hour hand is shorter than the minute hand, I used the average length of the lines to assign each hand to a cluster’s angle.
Telling the Time
The final step was just a simple math problem: given the angle of the hour hand and the angle of the minute hand, tell the time. If the minute hand has angle degrees then the number of minutes we are into the hour is:
Similarly, I used the angle of the hour hand to determine the number of hours we are into the day.
However, this estimate was susceptible to slight errors, since an hour hand near the 12th hour could be slightly off the 12th hour. To account for this, I rounded the hours to the nearest integer whenever the minute hand was within 5 degrees of the 12th hour.
Once I had and , the process was complete—I could tell the time!
Conclusion
I don’t expect this project to be massively useful in practice, but it was still an enriching experience in learning about deep learning and computer vision. The idea for this project came from Ethan Rosenthal’s optimal banana slicing project, which gave an in-depth look into how he optimized his peanut butter and banana sandwich building. In the absence of practical ideas, I used the Timekeeper as a way to refine my skills in AI and explore the combination of classical and deep computer vision.
Check out the source code for a full understanding of the project.
Results
And now, let’s see how well the program performs on various test images.
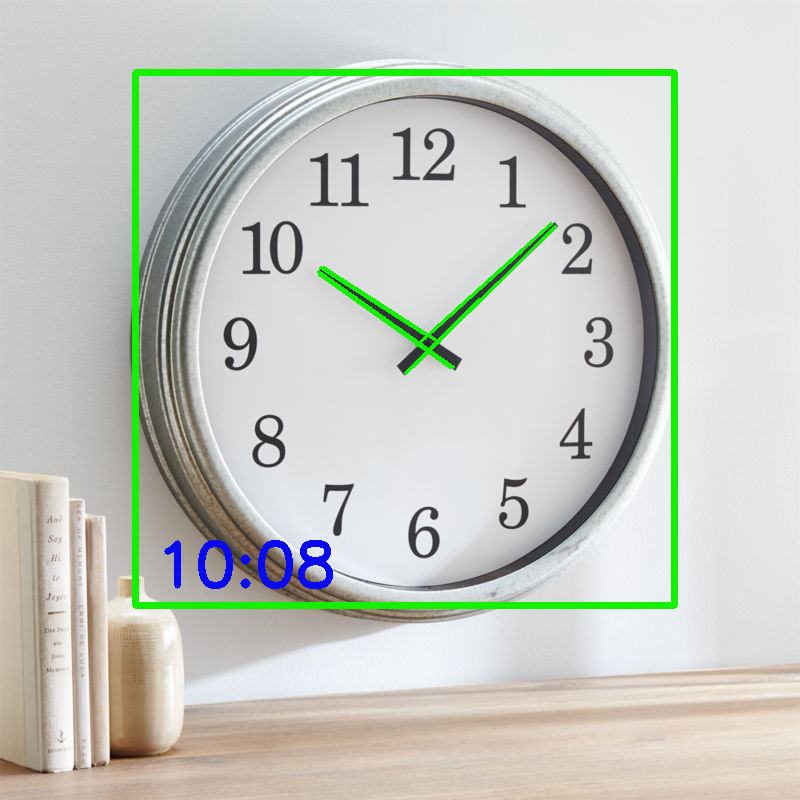
Correctly finds the clock, its hands, and predicts 10:08!
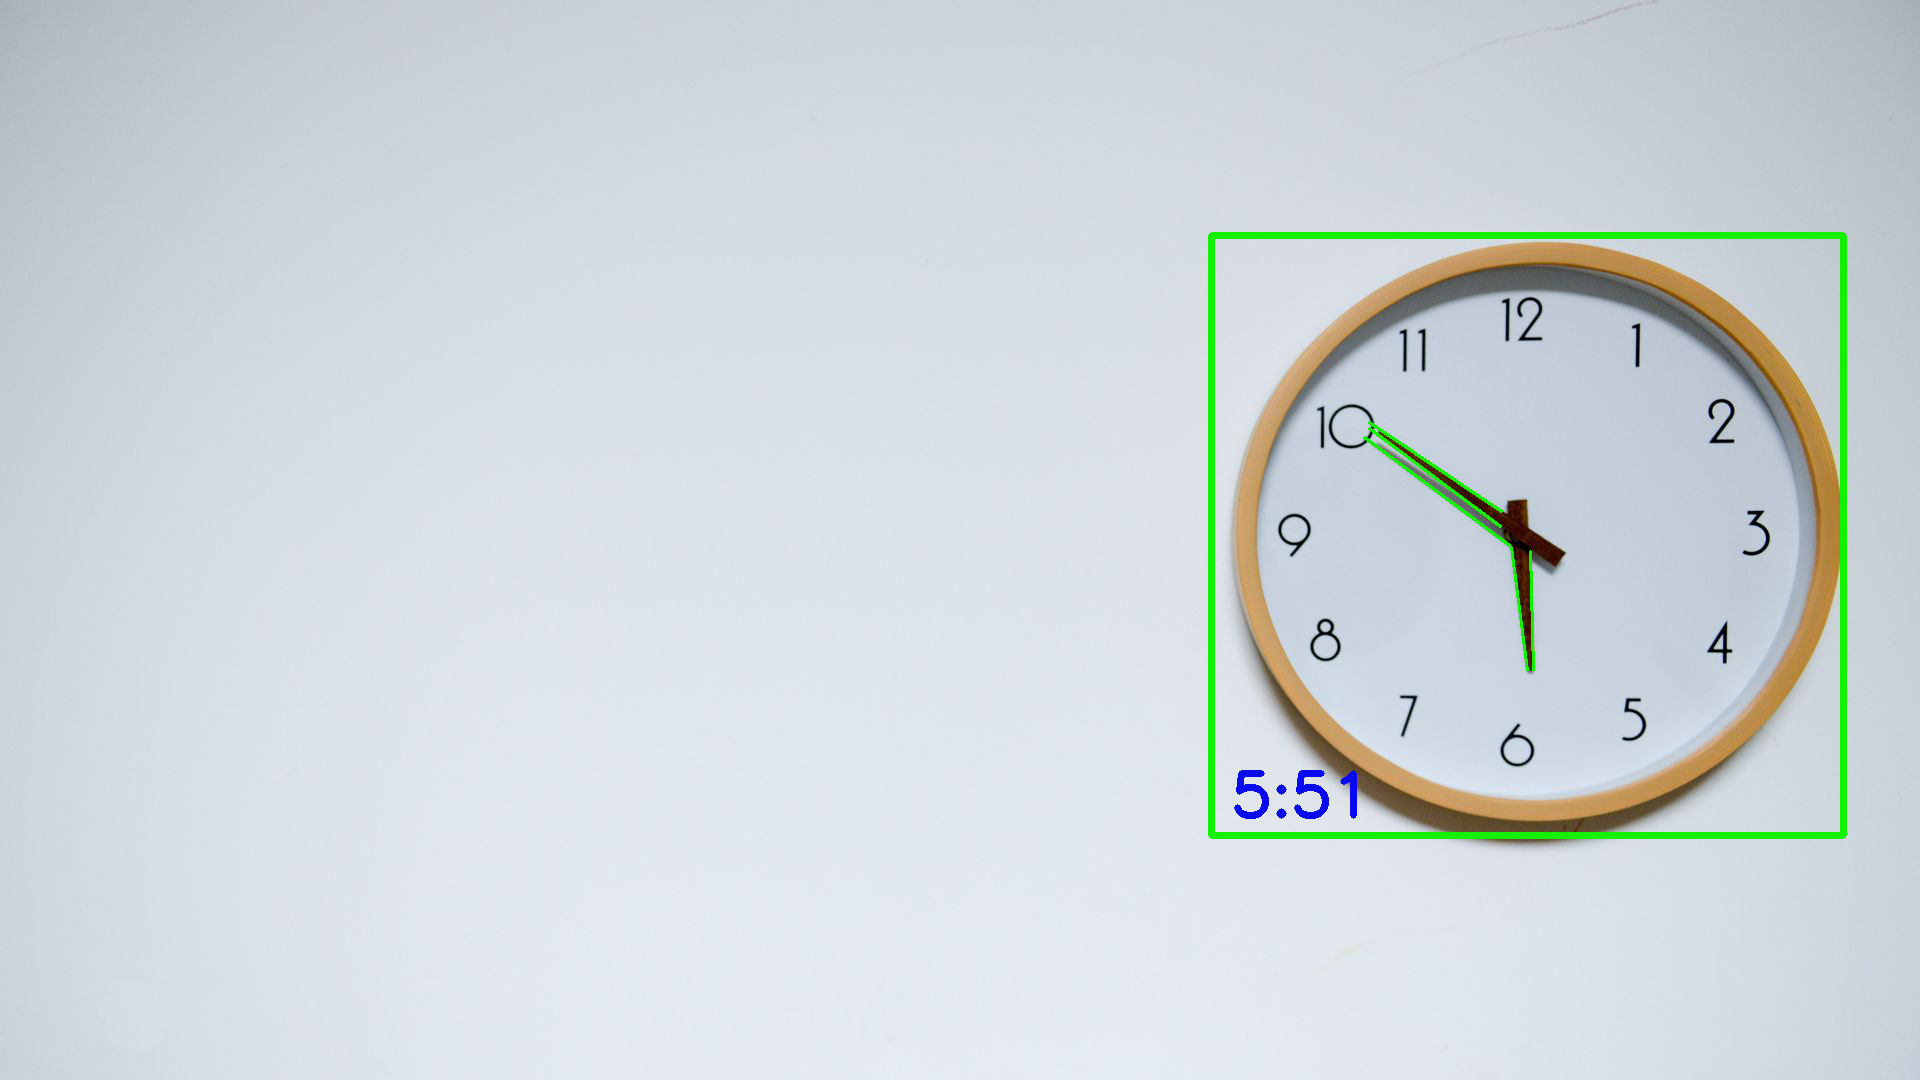
Another relatively easy image, with slightly more tapered hands
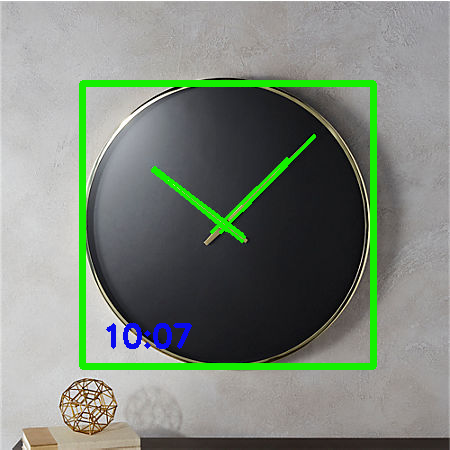
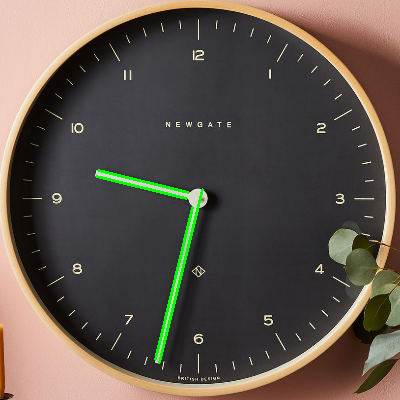
It even works without markings on the clock!
Failure Cases
It would be disingenuous to show only the success cases, so here are some places where the program failed to tell the time correctly.
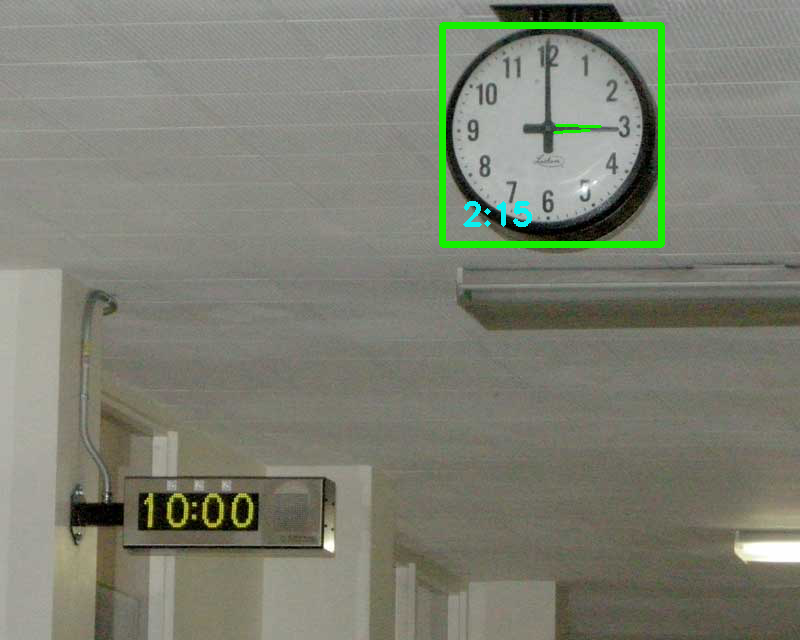
It fails to find the minute hand, likely due to how I tuned the edge detection. Also, I’m not sure which clock I should trust in this picture.
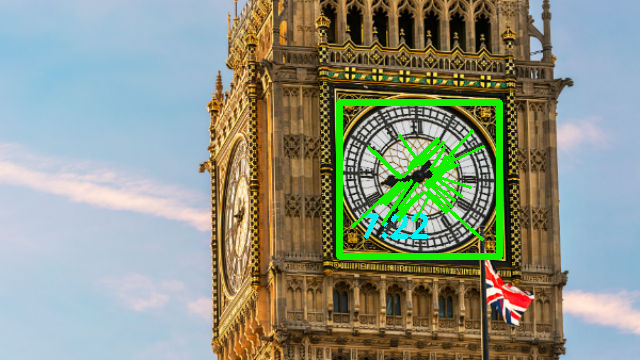
I’m not even going to try to explain this one.